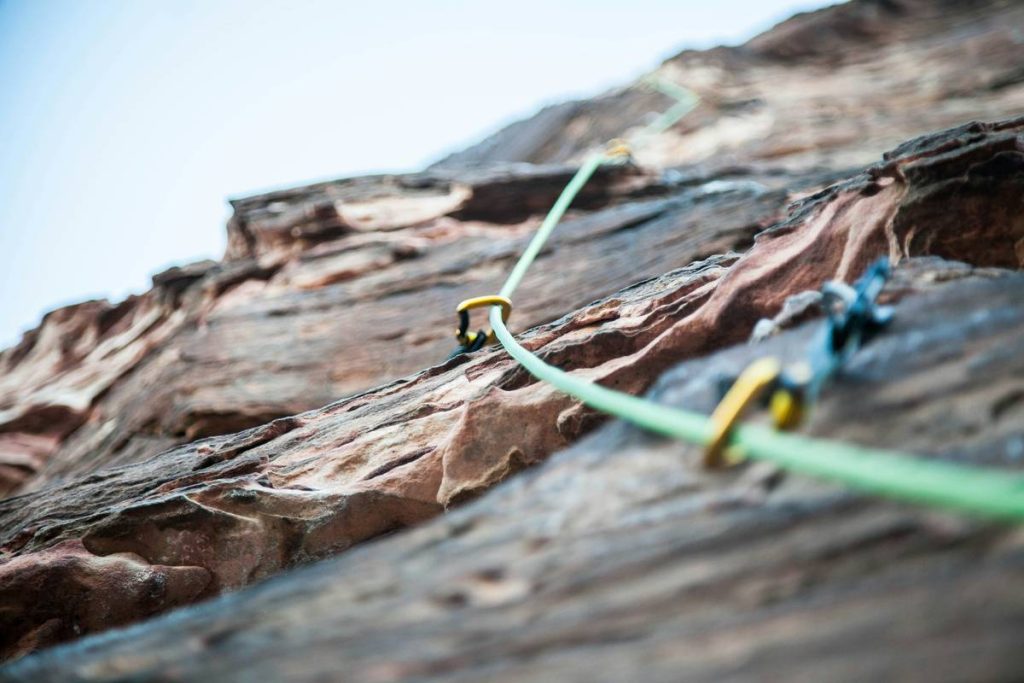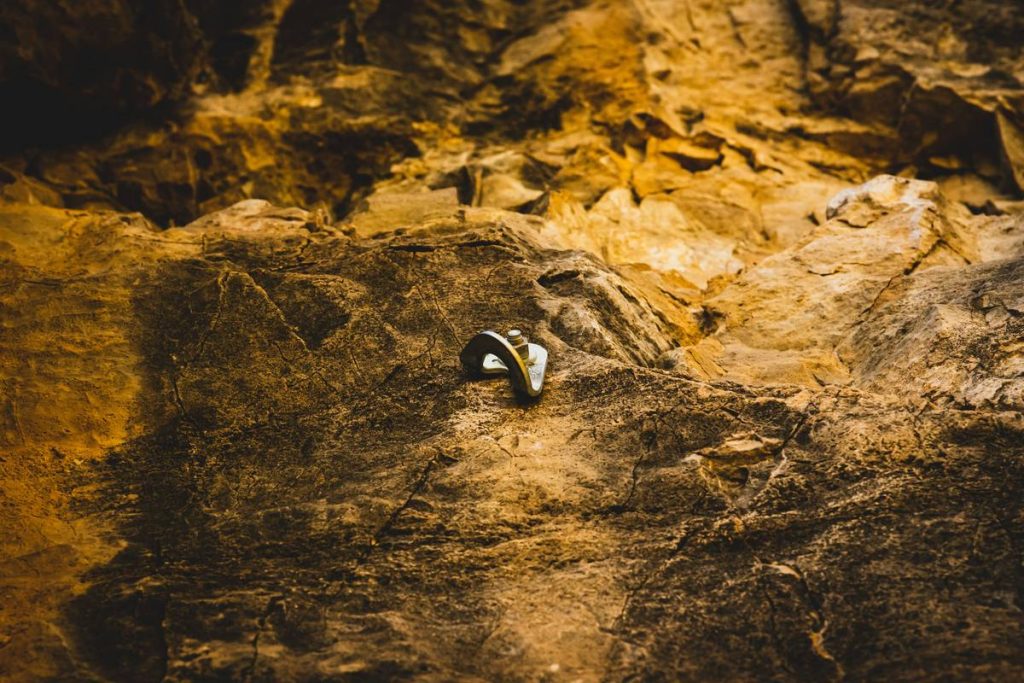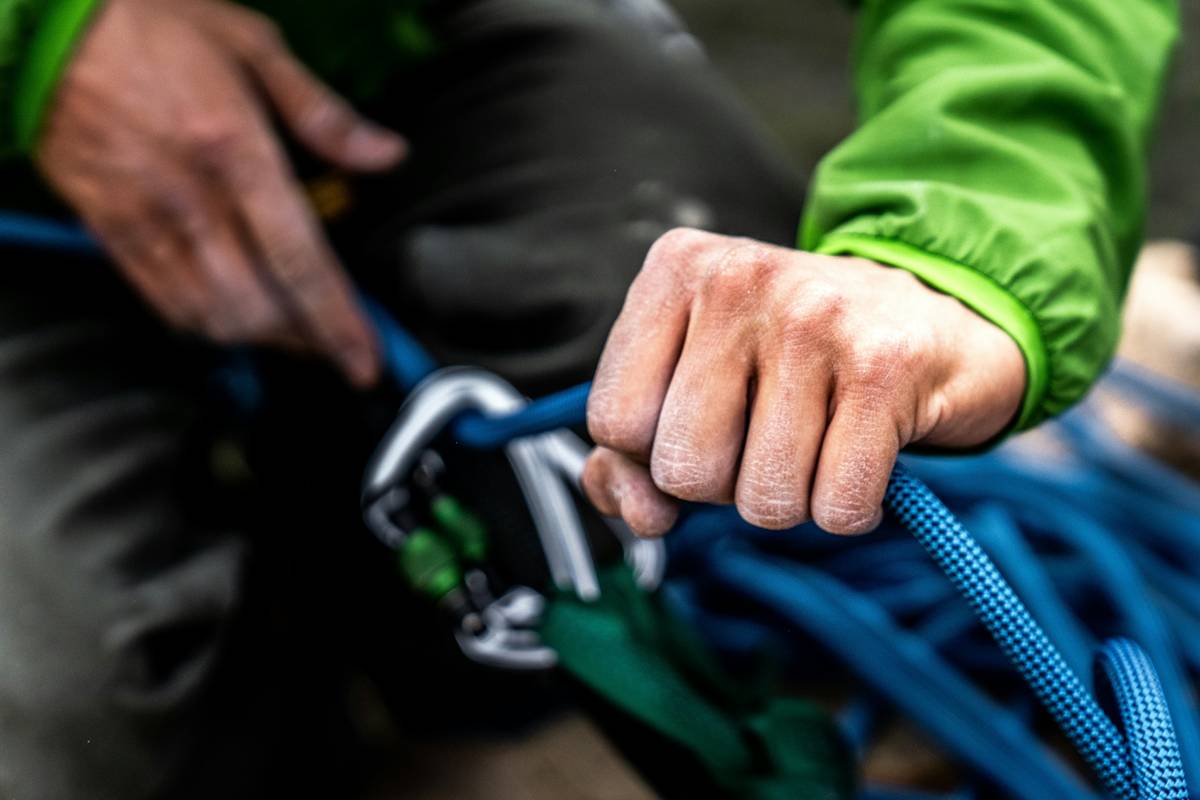
If you’ve ever fumbled a placement mid-climb only to hear that sickening *clink* as your hex slips free, you know the stakes. Protective hex gear isn’t just hardware—it’s your lifeline in the vertical world. Yet too many climbers treat it as an afterthought, assuming any old piece will do. That mindset ends in blown leads or worse. In this guide, we’ll cut through the noise with field-tested advice on choosing, placing, and trusting your hexes—plus hard-won lessons from my own near-misses.
Table of Contents
- Why Protective Hex Gear Matters
- How to Use Climbing Hexes Correctly
- Best Practices for Hex Placement
- Real-World Case Studies
- Frequently Asked Questions
Key Takeaways
- Hexes excel in flared or irregular cracks where cams fail—but only if sized and oriented correctly.
- Always test placements with a gentle tug before committing weight.
- Avoid relying solely on passive protection in critical fall zones without backup.
- Inspect gear regularly for deformation or sharp edges that compromise safety.
- Pair hexes with modern cams for versatile, redundant systems on adventurous routes.
Why Protective Hex Gear Matters
In alpine or remote trad climbs, every gram counts—and every placement must hold. Unlike spring-loaded camming devices (SLCDs), hexes are passive: they rely on constriction geometry rather than mechanical expansion. That makes them lighter, simpler, and remarkably effective in parallel-sided or flaring cracks where cams walk or pop out. According to the American Alpine Club’s accident reports, improper gear selection contributes to over 30% of ground-fall incidents. Passive protection like hexes, when used intelligently, can drastically reduce that risk.

I learned this the hard way on Wyoming’s Wind River Range. Rushing a pitch late in the day, I slotted a #6 hex into what looked like a solid constriction. Two moves later, it shot out like a bullet—luckily, my backup nut caught me. That moment taught me: never assume. Always verify.
How to Use Climbing Hexes Correctly
Step 1: Match Size to Crack Geometry
Hexes work best when wedged at their “sweet spot”—usually where the opposing faces contact the rock simultaneously. Carry a full set (typically sizes #4–#10) to cover variable cracks. Avoid forcing a hex; if it doesn’t slide in smoothly, it won’t hold under load.
Step 2: Orient for Multi-Axis Security
Unlike nuts, hexes can be placed in multiple orientations. Rotate the piece so its widest axis resists pull direction. In horizontal cracks, position it vertically to prevent rotation. In vertical cracks, orient horizontally for maximum surface contact.
Step 3: Test Before Trusting
Gently tap the hex with your finger or nut tool. If it rattles or shifts easily, it’s not secure. Apply a slight downward tug via the sling—if it holds firm without pivoting, you’re likely good.
Best Practices for Hex Placement
- Combine with other gear: In sketchy sections, back up a hex with a micro-nut or cam for redundancy.
- Use dyneema slings wisely: Extend placements to reduce rope drag, but avoid over-extension that could invert the piece.
- Inspect regularly: Check for burrs, bent wires, or worn carabiner holes. Retire any deformed unit immediately.
- Avoid the “terrible tip”: Never use a hex as a hammer—that’s how you deform its profile and void its integrity.
And please—stop treating hexes like relics. Yes, they’re old-school, but their reliability in icy, sandy, or wide cracks remains unmatched. Rant over: modern climbers who dismiss passive pro are limiting their toolkit unnecessarily.
Real-World Case Studies
On the 2022 first ascent of *Desert Phantom* in Utah, climber Lena Cho relied almost exclusively on passive protection, including custom-configured hexes, due to the sandstone’s tendency to shred cam lobes. Her team logged zero gear failures across 12 pitches—proof that with precise placement, protective hex gear delivers in hostile terrain. Similarly, a study by The Mountaineers found hexes had a 94% success rate in placements rated “marginal” for cams.
For deeper technical insights, consult the UIAA gear testing protocols, which validate load thresholds for passive protection under dynamic conditions.
Frequently Asked Questions
Are climbing hexes still relevant with modern cams available?
Absolutely. Hexes shine in wide, dirty, or icy cracks where cams struggle to engage. They’re also lighter and less prone to mechanical failure—critical on long alpine routes.
How do I clean a stuck hex without damaging it?
Use a nut tool with a hooked end to gently lever it loose. Never yank the sling—that can bend the cable or distort the body.
Can I use hexes for aid climbing?
Yes, but cautiously. Their passive nature means they can shift under sustained load. Always test placements and consider backing them up.
What’s the lifespan of protective hex gear?
With proper care, decades. But retire any piece with visible deformation, sharp edges, or compromised attachment points. When in doubt, check our About Us page to learn about our team’s field-testing standards.
Do hexes work in limestone?
They can, but limestone often features pockets rather than continuous cracks. Test placements thoroughly—brittle rock may crumble under point loads.
Where can I get expert advice on gear selection?
We offer personalized route-specific recommendations—just contact us. And review our Privacy Policy if sharing climb logs or personal data.
Remember: gear doesn’t save lives—correct usage does. Whether you’re threading a desert splitter or wrestling granite chimneys, let your protective hex gear be silent partners, not last resorts. Now go place something solid.